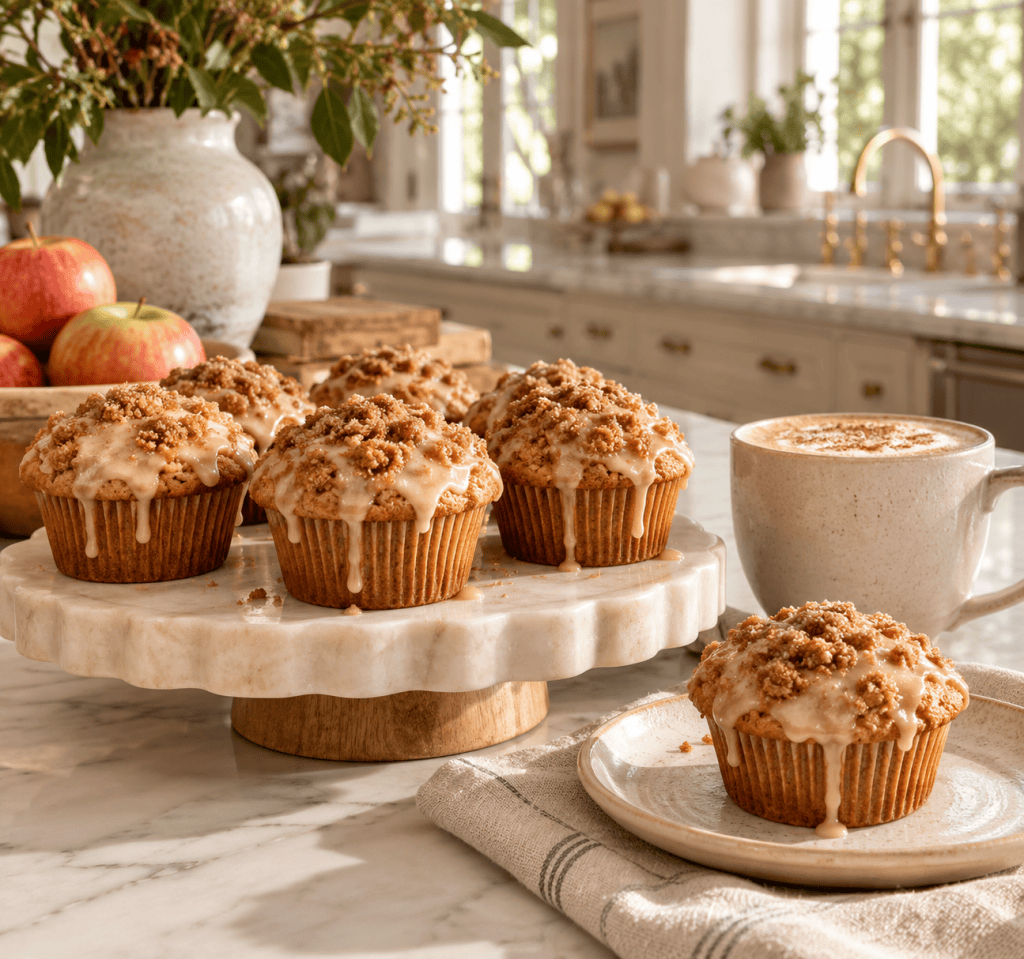
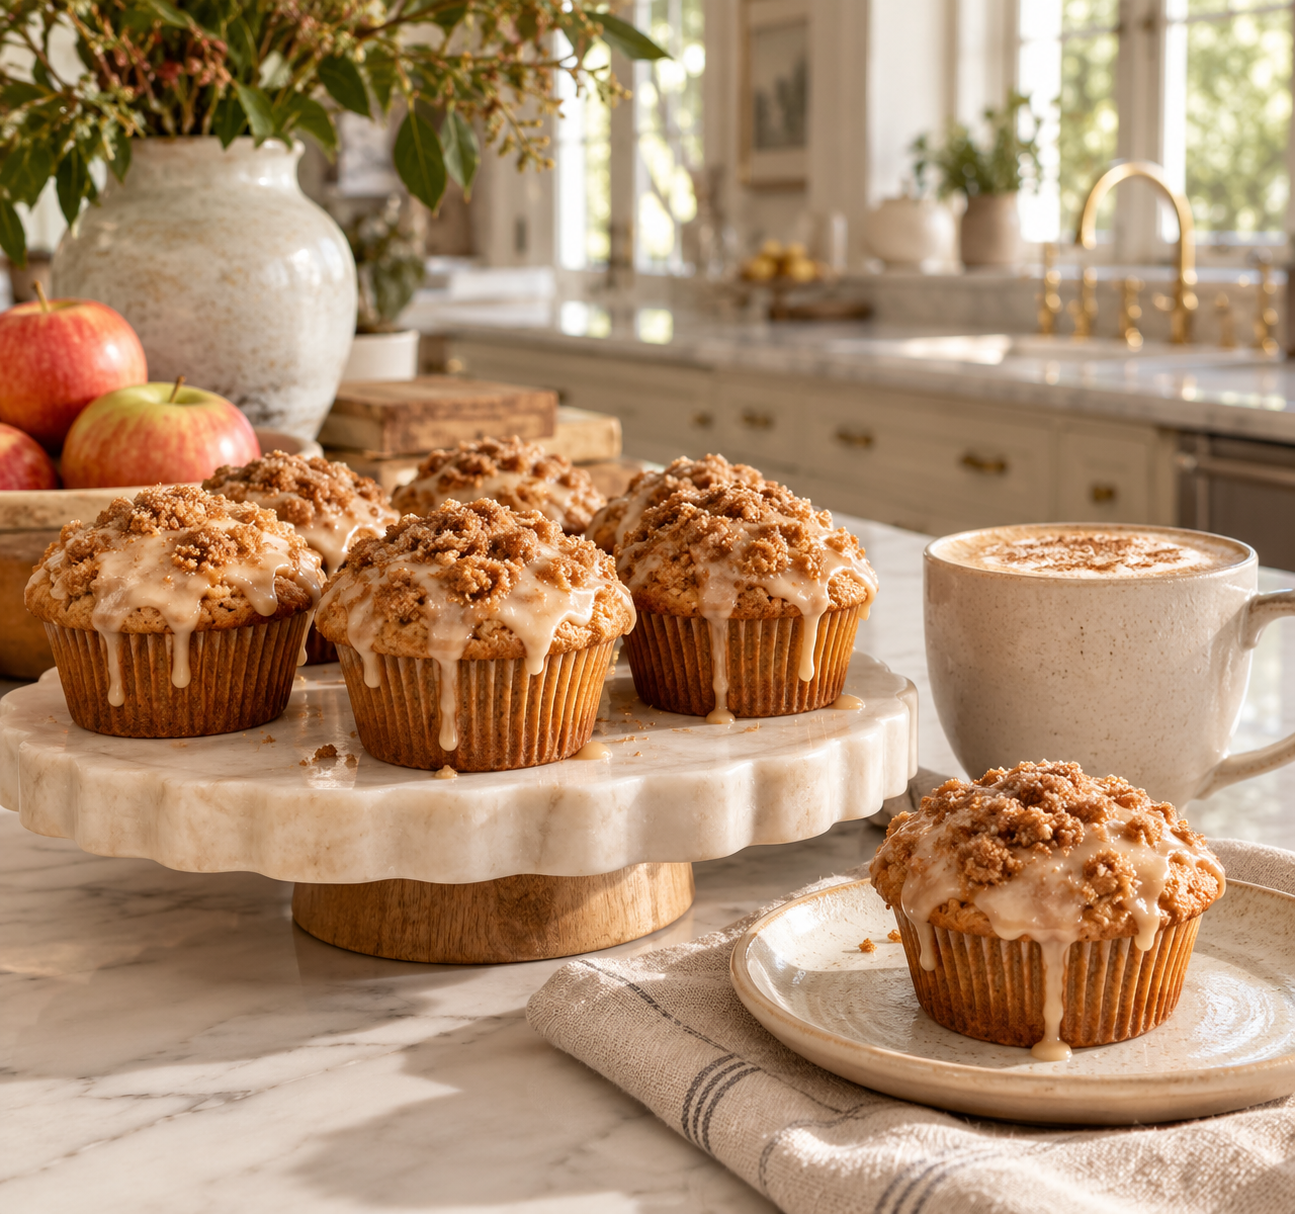
There is something about the smell of apple cider simmering on the stove that makes the whole house feel like autumn. These muffins capture exactly that — a deeply concentrated apple cider flavor baked right into a tender, gluten-free crumb, crowned with a real brown-butter streusel and finished with a whisper-thin maple glaze. They are the kind of thing you bring to a weekend brunch and everyone assumes came from a very good bakery. The secret, as always, is in the reduction.
Recipe Details
| Yield | 12 standard muffins |
| Prep Time | 25 minutes (plus 15 minutes to reduce cider) |
| Bake Time | 22–25 minutes at 400 °F (200 °C) |
| Cool Time | 15 minutes before glazing |
| Total Time | About 1 hour 20 minutes |
| Dietary | Gluten-free (with certified GF ingredients) |
Ingredients
Muffin Batter
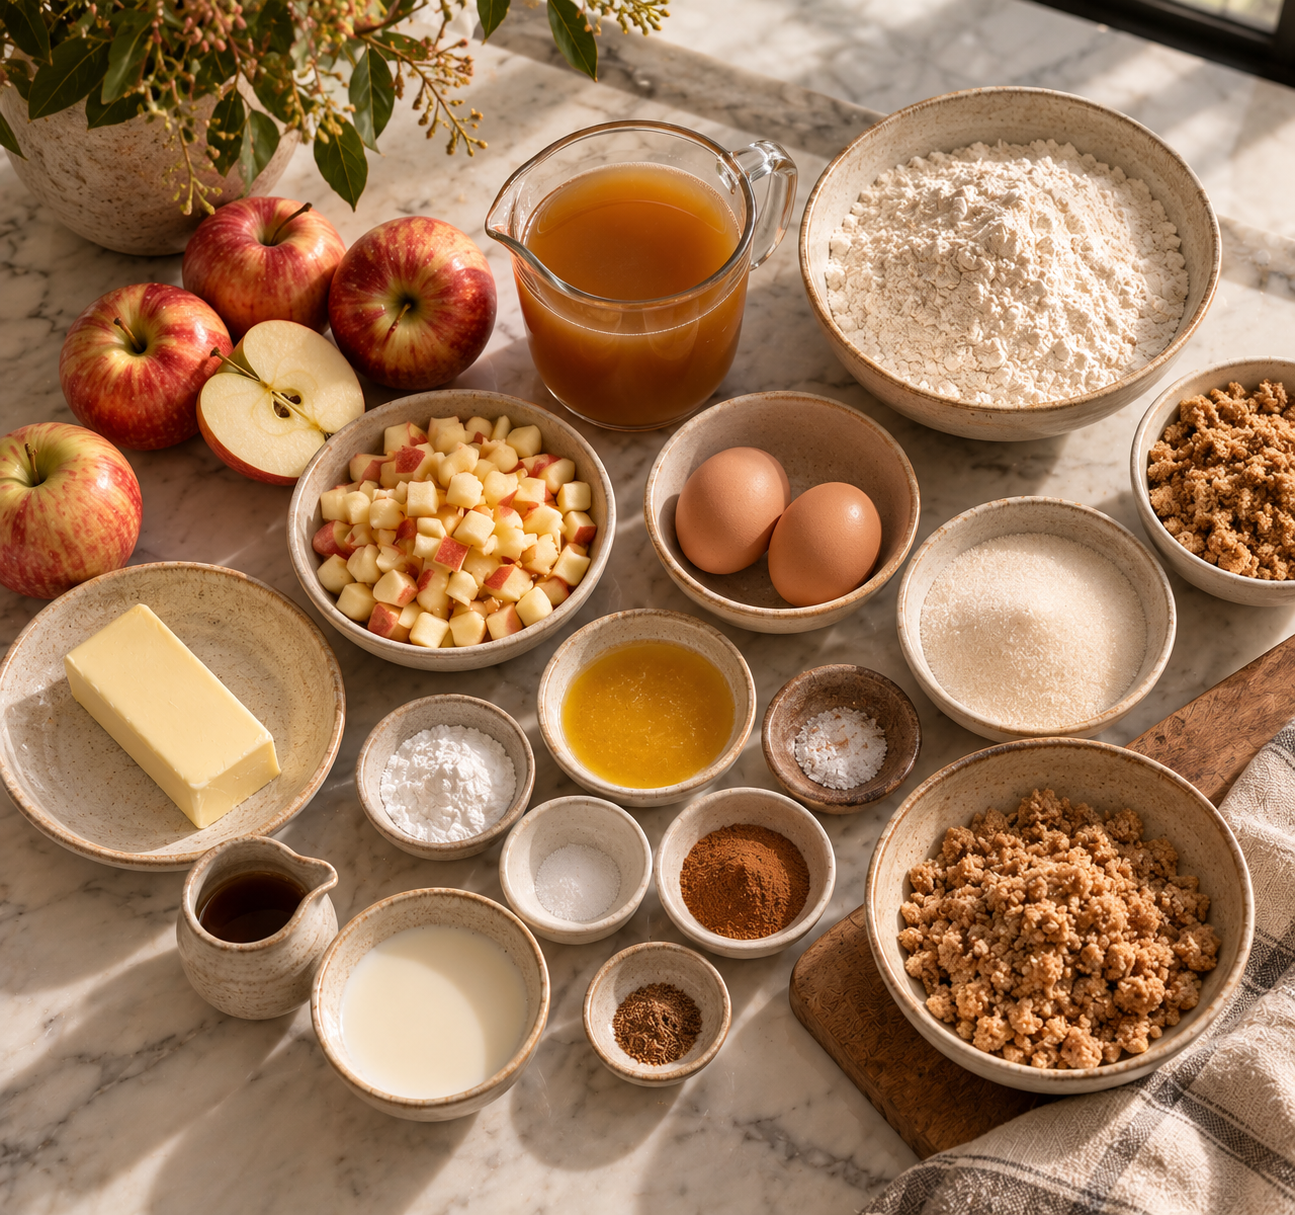
- 2 cups organic apple cider (reduced to ¾ cup — see Step 1)
- 2 cups (240 g) certified gluten-free 1-to-1 baking flour blend (such as Cup4Cup)
- 1 ½ tsp baking powder (certified GF)
- ½ tsp baking soda
- 1 ½ tsp ground cinnamon
- ¼ tsp ground nutmeg
- ¼ tsp ground cardamom
- ½ tsp fine sea salt
- ½ cup (1 stick / 113 g) organic unsalted butter, softened to room temperature
- ¾ cup (150 g) organic granulated cane sugar
- 2 large organic eggs, at room temperature
- ¼ cup organic sour cream (or full-fat organic coconut yogurt for dairy-free)
- 1 tsp pure organic vanilla extract
- 1 ½ cups (about 2 medium) organic apples, peeled, cored, and cut into ¼-inch dice (Honeycrisp or Fuji work beautifully)
- 1 tsp ground cinnamon, to toss with the diced apples
Real Streusel Crumble
- ½ cup (60 g) certified GF all-purpose flour blend
- ¼ cup (25 g) certified GF rolled oats
- ⅓ cup (65 g) organic light brown sugar, firmly packed
- 1 tsp ground cinnamon
- Pinch of fine sea salt
- 4 tbsp (57 g) organic unsalted butter, cold and cut into small cubes
Light Maple Glaze
- 1 cup (120 g) organic powdered sugar, sifted
- 3 tbsp pure organic maple syrup (Grade A, amber color)
- 1–2 tbsp whole milk or oat milk (add gradually for desired drizzle consistency)
- Pinch of cinnamon (optional, but lovely)
Instructions
Step 1 — Reduce the Apple Cider
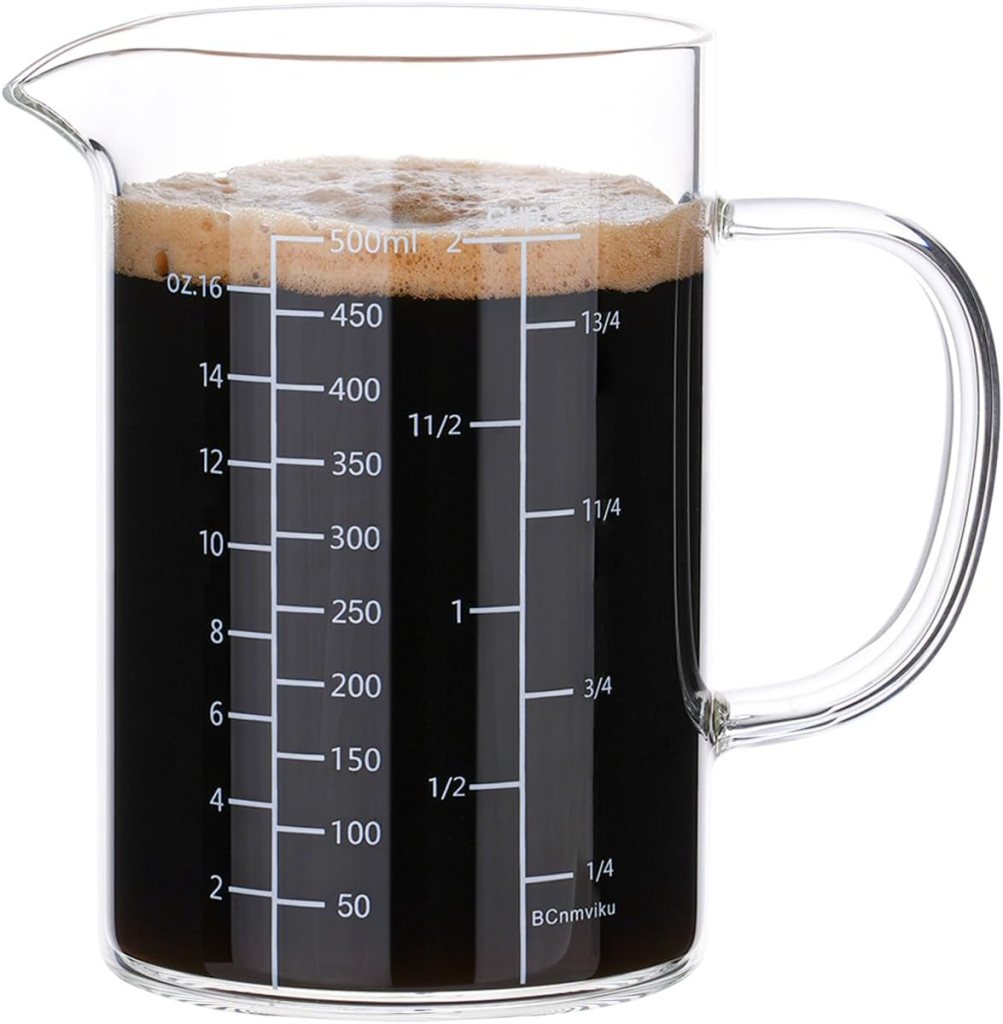
Pour 2 cups of organic apple cider into a small saucepan and bring to a boil over medium-high heat. Reduce to a steady simmer and cook, uncovered, for 12–15 minutes until the cider reduces to approximately ¾ cup. It should look slightly syrupy and smell intensely of apple. Remove from heat and let it cool to room temperature. This reduction step is non-negotiable — it is what gives these muffins their pronounced, bakery-worthy apple cider flavor.
Step 2 — Prepare the Apples
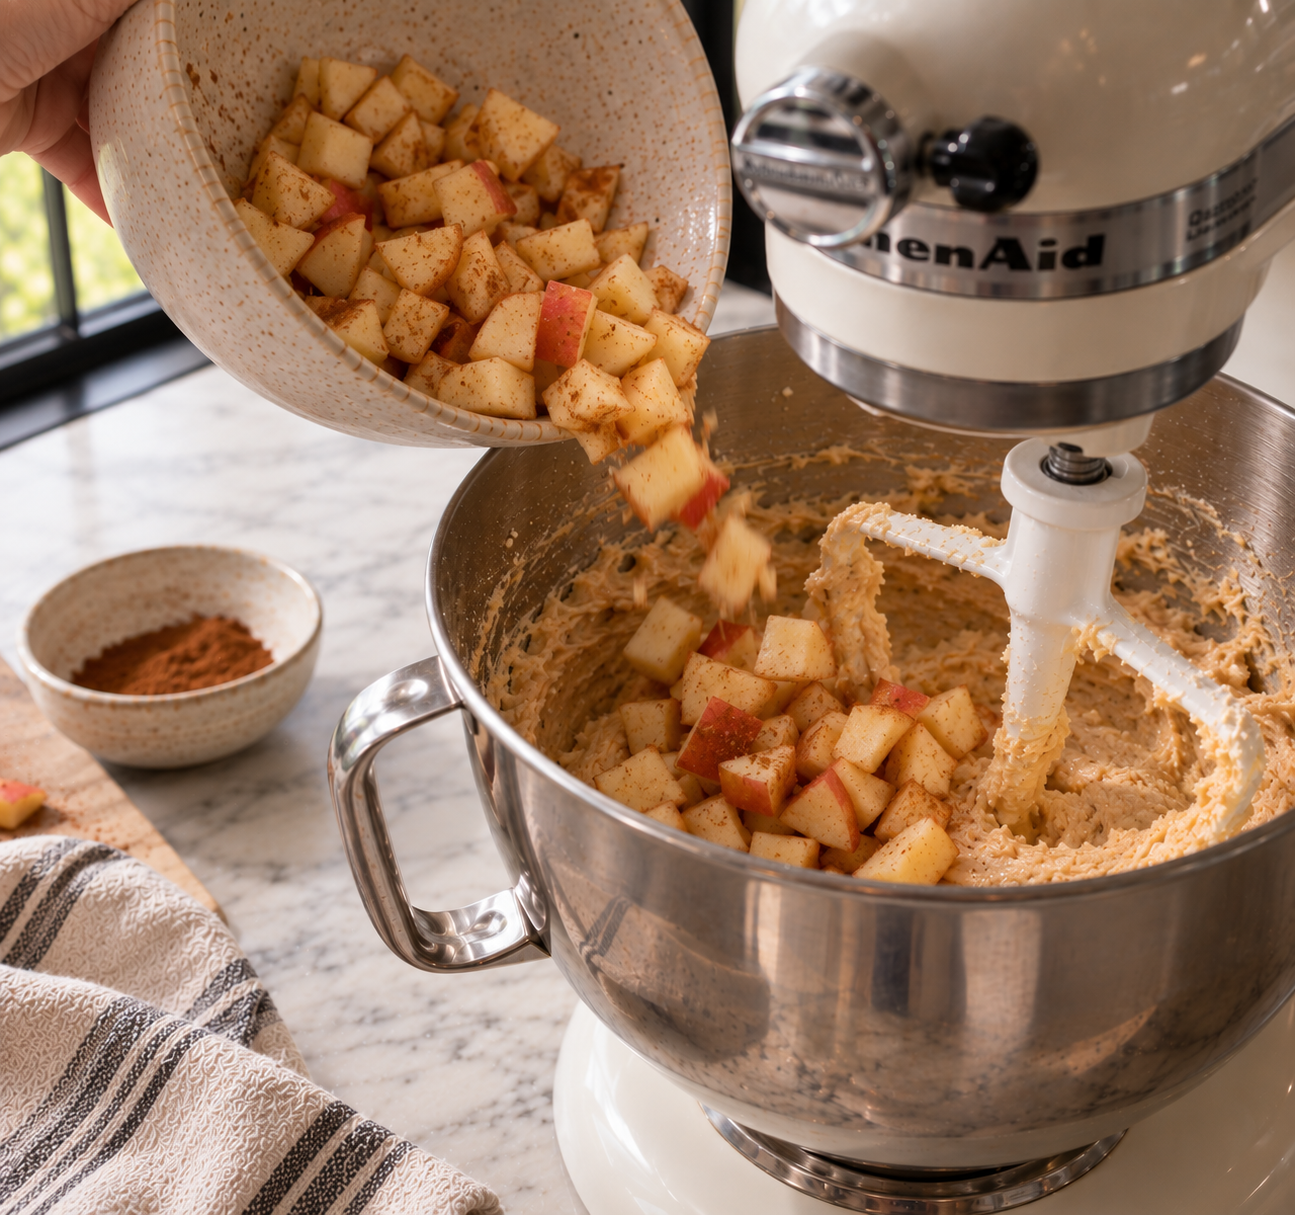
Peel, core, and cut the apples into ¼-inch dice. Place in a small bowl and toss with 1 tsp ground cinnamon. Set aside. The cinnamon coating helps the apple pieces hold their shape in the batter and adds another warm layer of flavor.
Step 3 — Make the Streusel Crumble
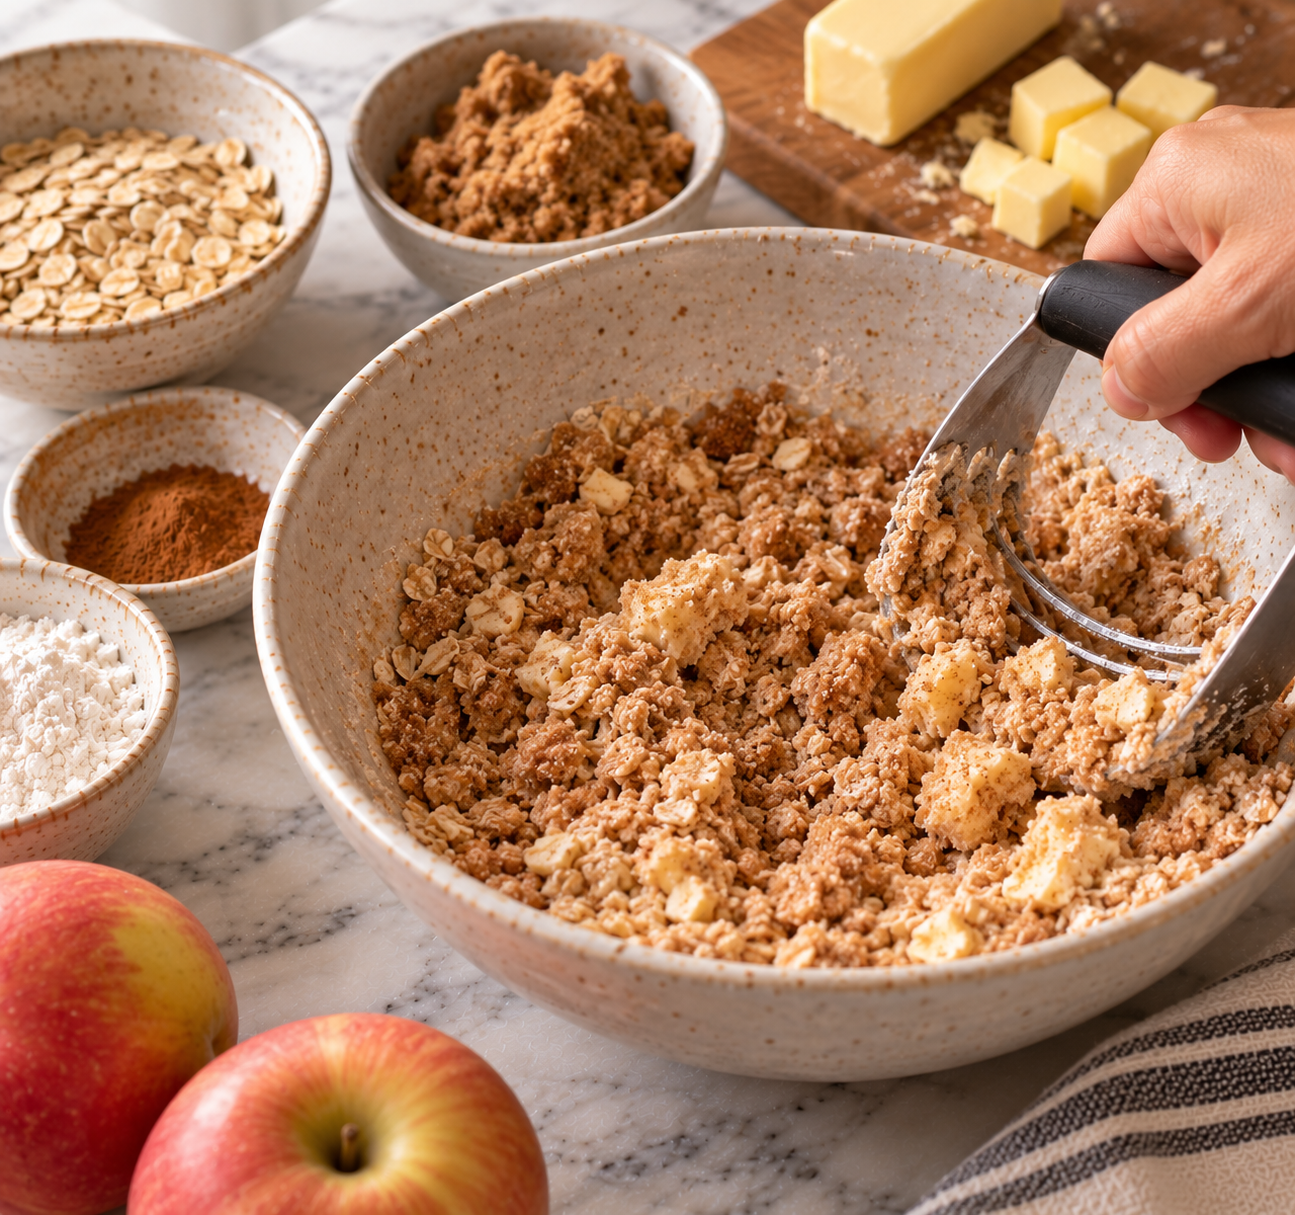
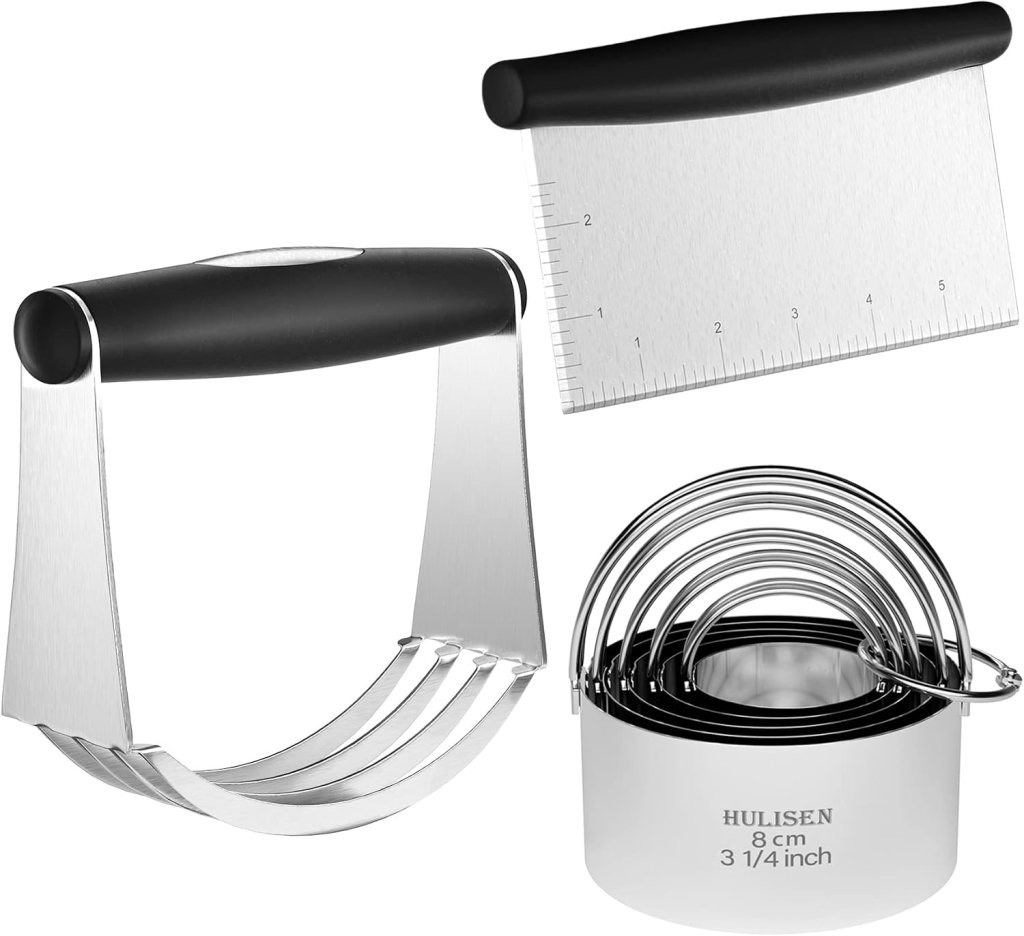
In a medium bowl, whisk together the GF flour, oats, brown sugar, cinnamon, and salt. Add the cold butter cubes and use a pastry cutter or your fingertips to work the butter into the dry ingredients until the mixture clumps together in coarse, pea-sized crumbs. You want real texture here — resist the urge to over-mix. Refrigerate the streusel while you prepare the batter so the butter stays cold and the topping stays crumbly during baking.
Step 4 — Preheat & Prep
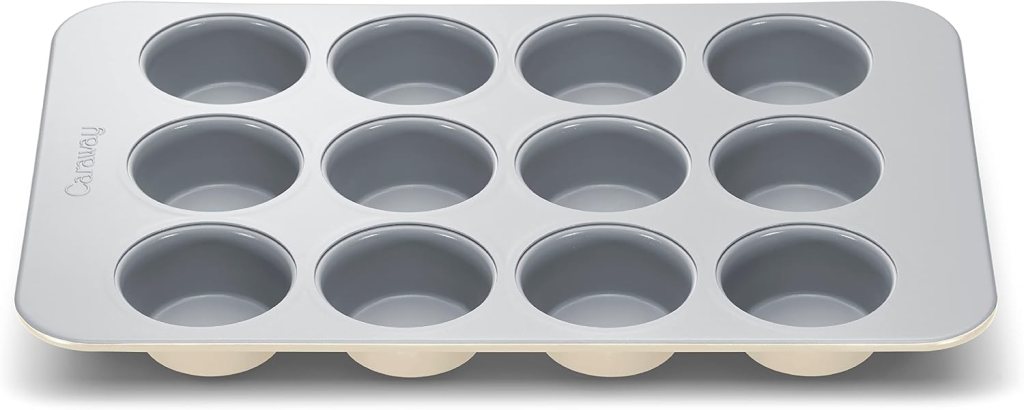
Preheat your oven to 400 °F (200 °C). Line a standard 12-cup muffin tin with unbleached parchment liners. Starting at a higher temperature gives the muffins a tall, domed crown before the heat drops — a bakery trick that pays off every time.
Step 5 — Mix the Gluten-Free Batter
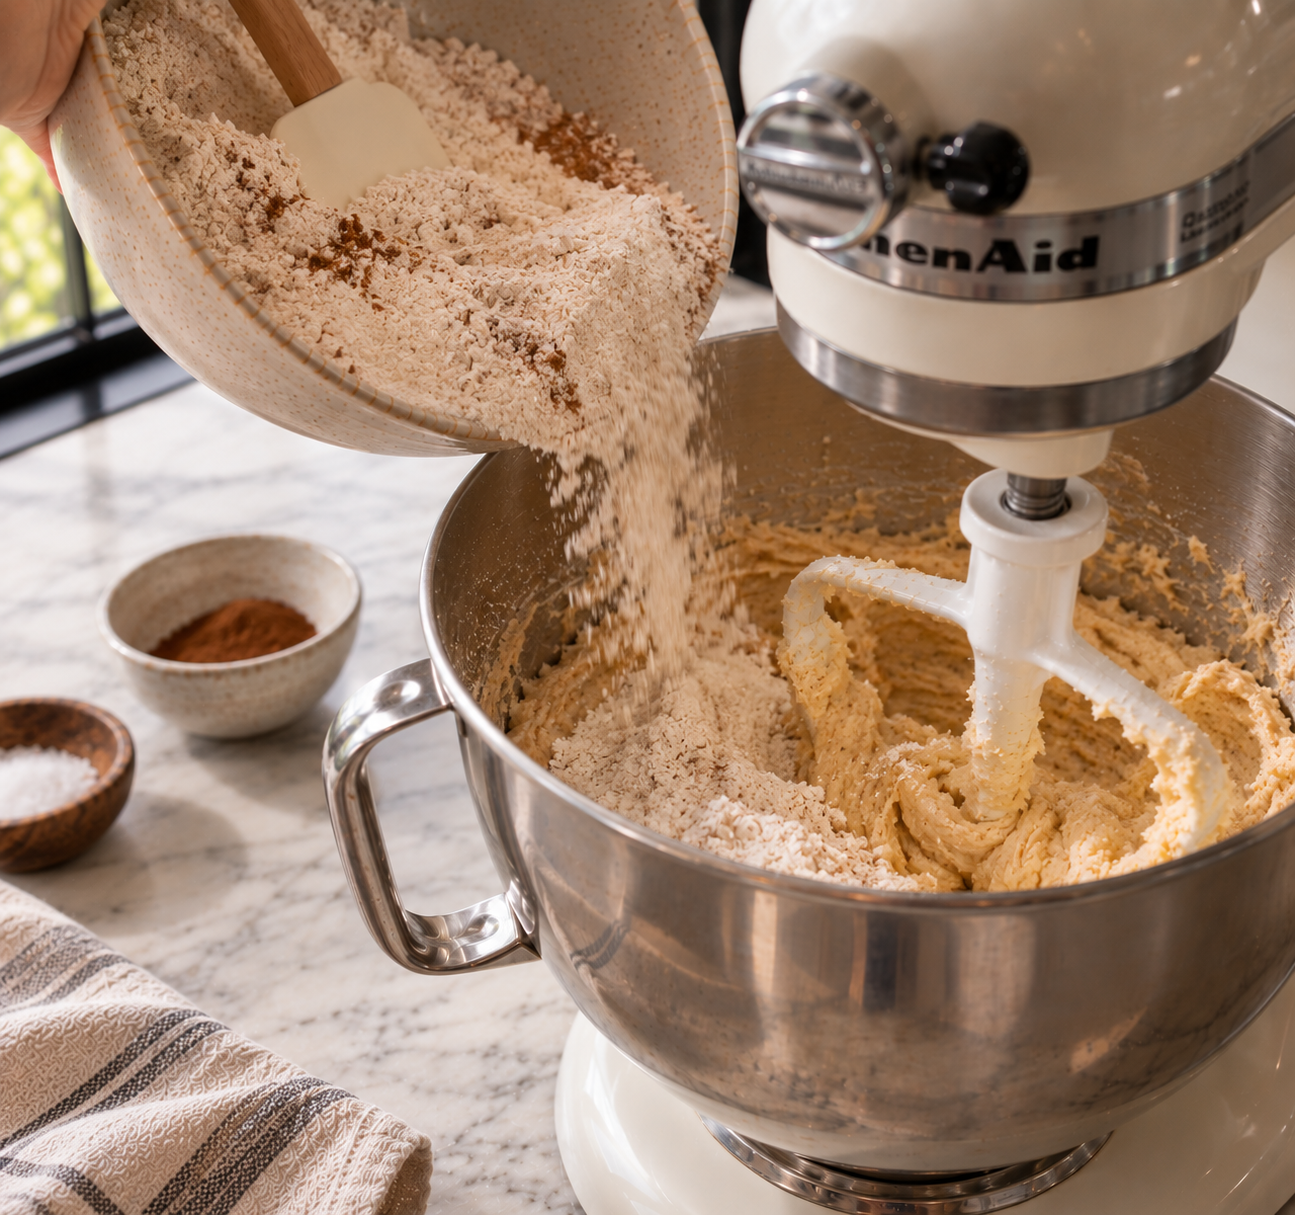
In a medium bowl, whisk together the dry ingredients; the GF flour blend, baking powder, baking soda, cinnamon, nutmeg, cardamom, and salt. Set aside. In the bowl of a stand mixer fitted with the paddle attachment (or in a large bowl using a hand mixer), beat the softened butter and granulated sugar on medium-high speed for 3 minutes until light and fluffy. Add the eggs one at a time, beating well after each addition. Mix in the sour cream and vanilla extract. With the mixer on low, pour in the cooled reduced cider. Add the dry ingredients in two additions, mixing just until no dry streaks remain — do not over-mix gluten-free batter. Finally, fold in the cinnamon-tossed apple pieces by hand using a spatula.
Step 6 — Fill the Muffin Cups & Add Streusel
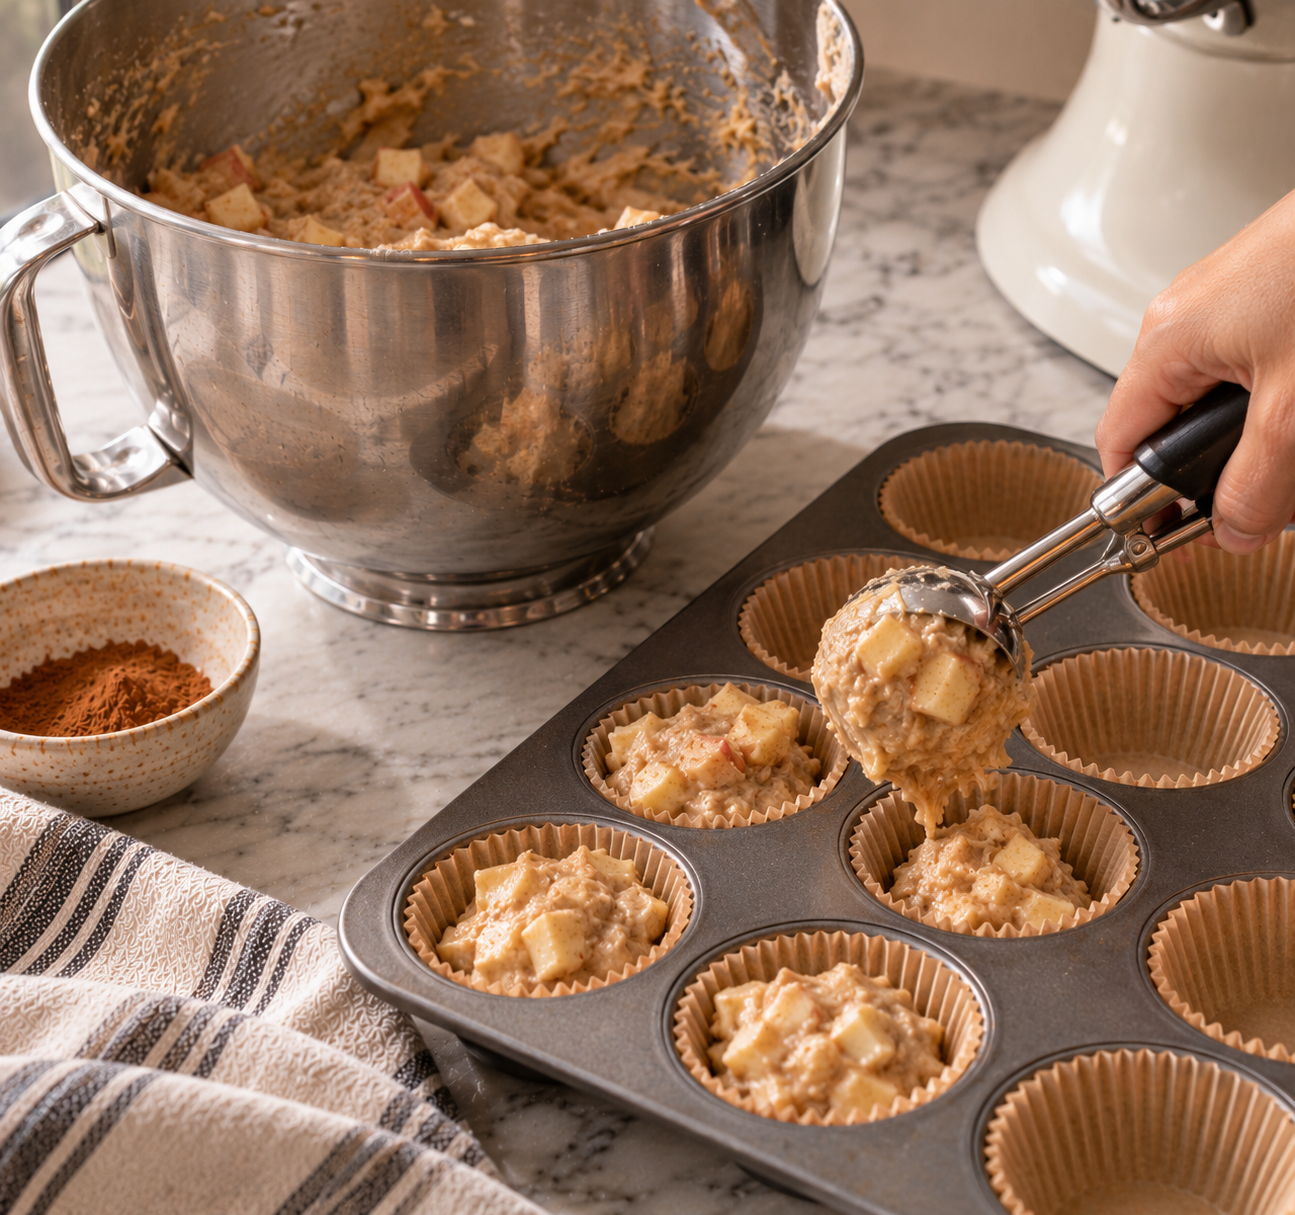
Using a large cookie scoop or ¼-cup measure, divide the batter evenly among the 12 prepared muffin cups. Each cup should be filled about three-quarters full. Remove the streusel from the refrigerator and press a generous, slightly compacted tablespoon (about 1½–2 tbsp) onto the top of each muffin — the more streusel you pile on, the better the bakery effect. Gently press the topping just slightly so it adheres.
Step 7 — Bake
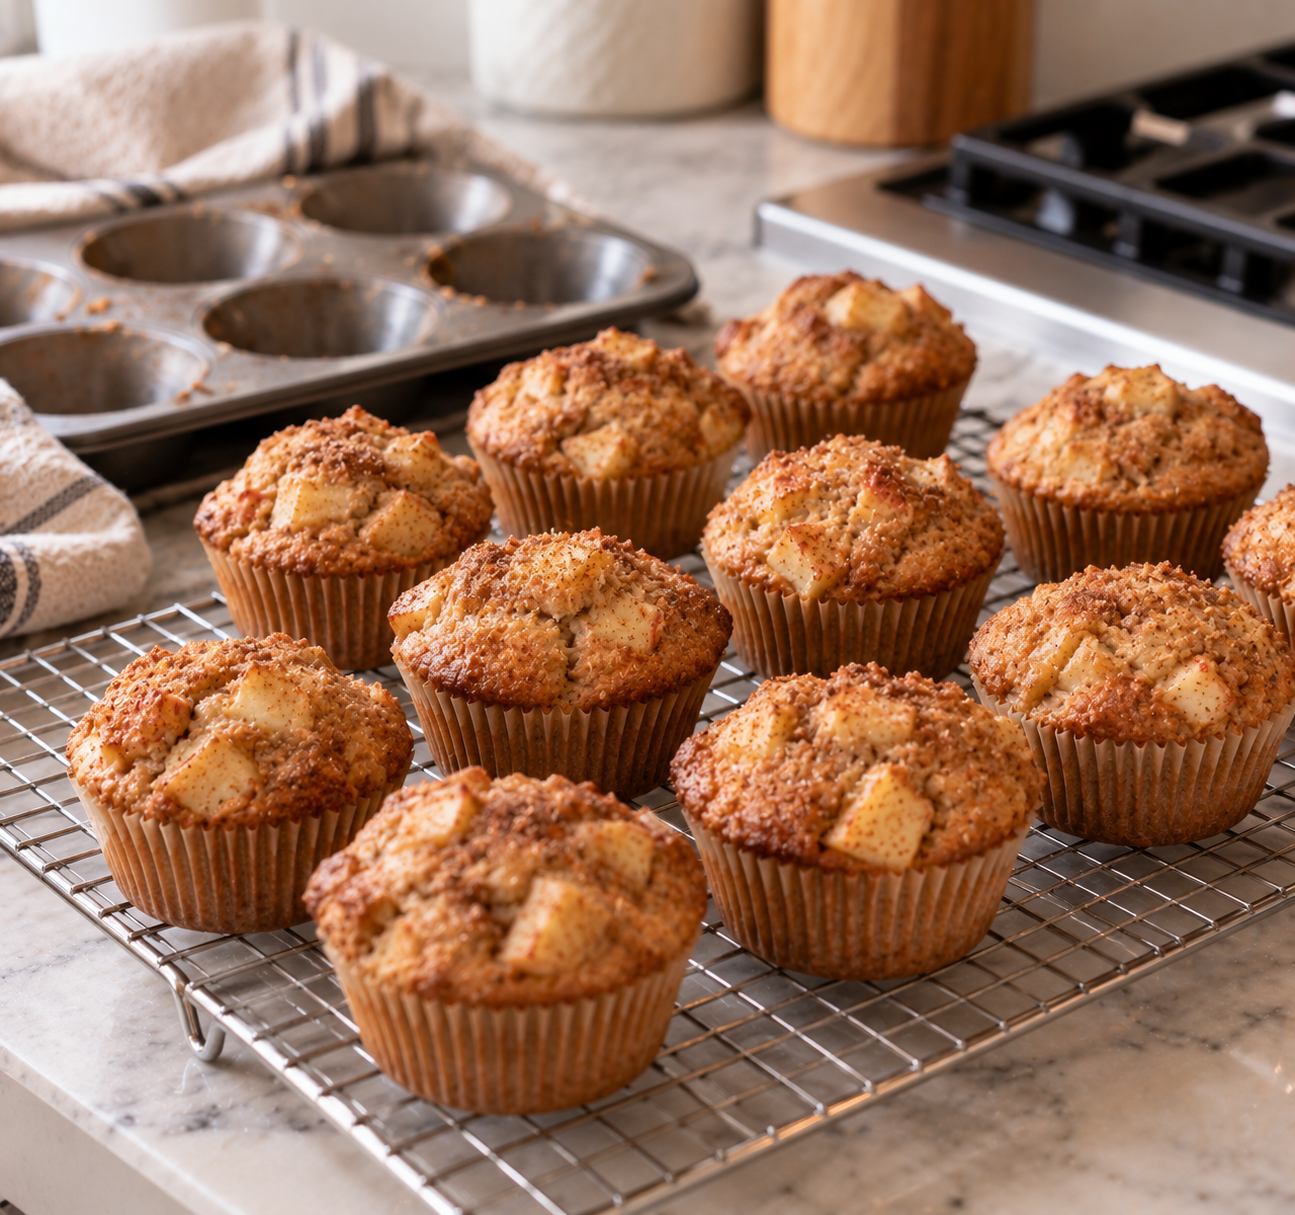
Bake at 400 °F (200 °C) for 5 minutes, then — without opening the oven — reduce the temperature to 375 °F (190 °C) and continue baking for 17–20 minutes more, until a toothpick inserted into the center of a muffin comes out clean or with just a few moist crumbs. The tops should be golden brown and the streusel should look set and slightly crunchy. Do not overbake — these muffins are at their most tender when the center is just set.
Step 8 — Cool
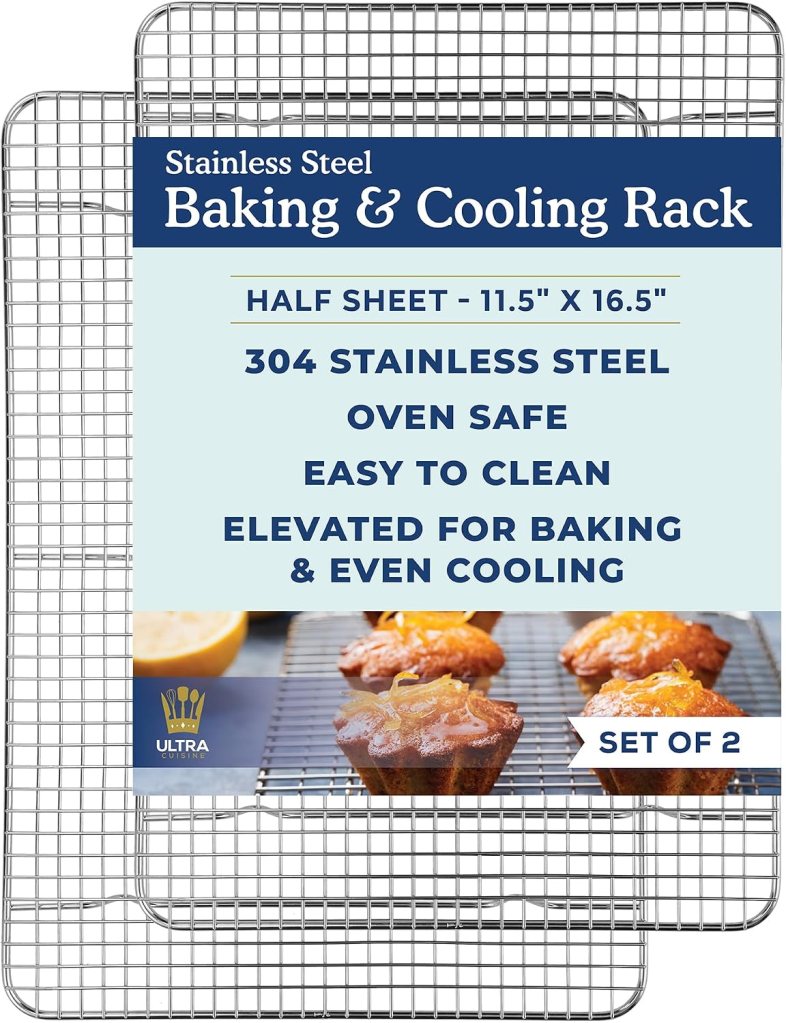
Let the muffins cool in the pan for 5 minutes, then transfer to a wire rack. Allow them to cool for at least 10–15 more minutes before glazing. Glazing while still slightly warm (not hot) allows the glaze to melt in gently without running off completely.
Step 9 — Make the Maple Glaze
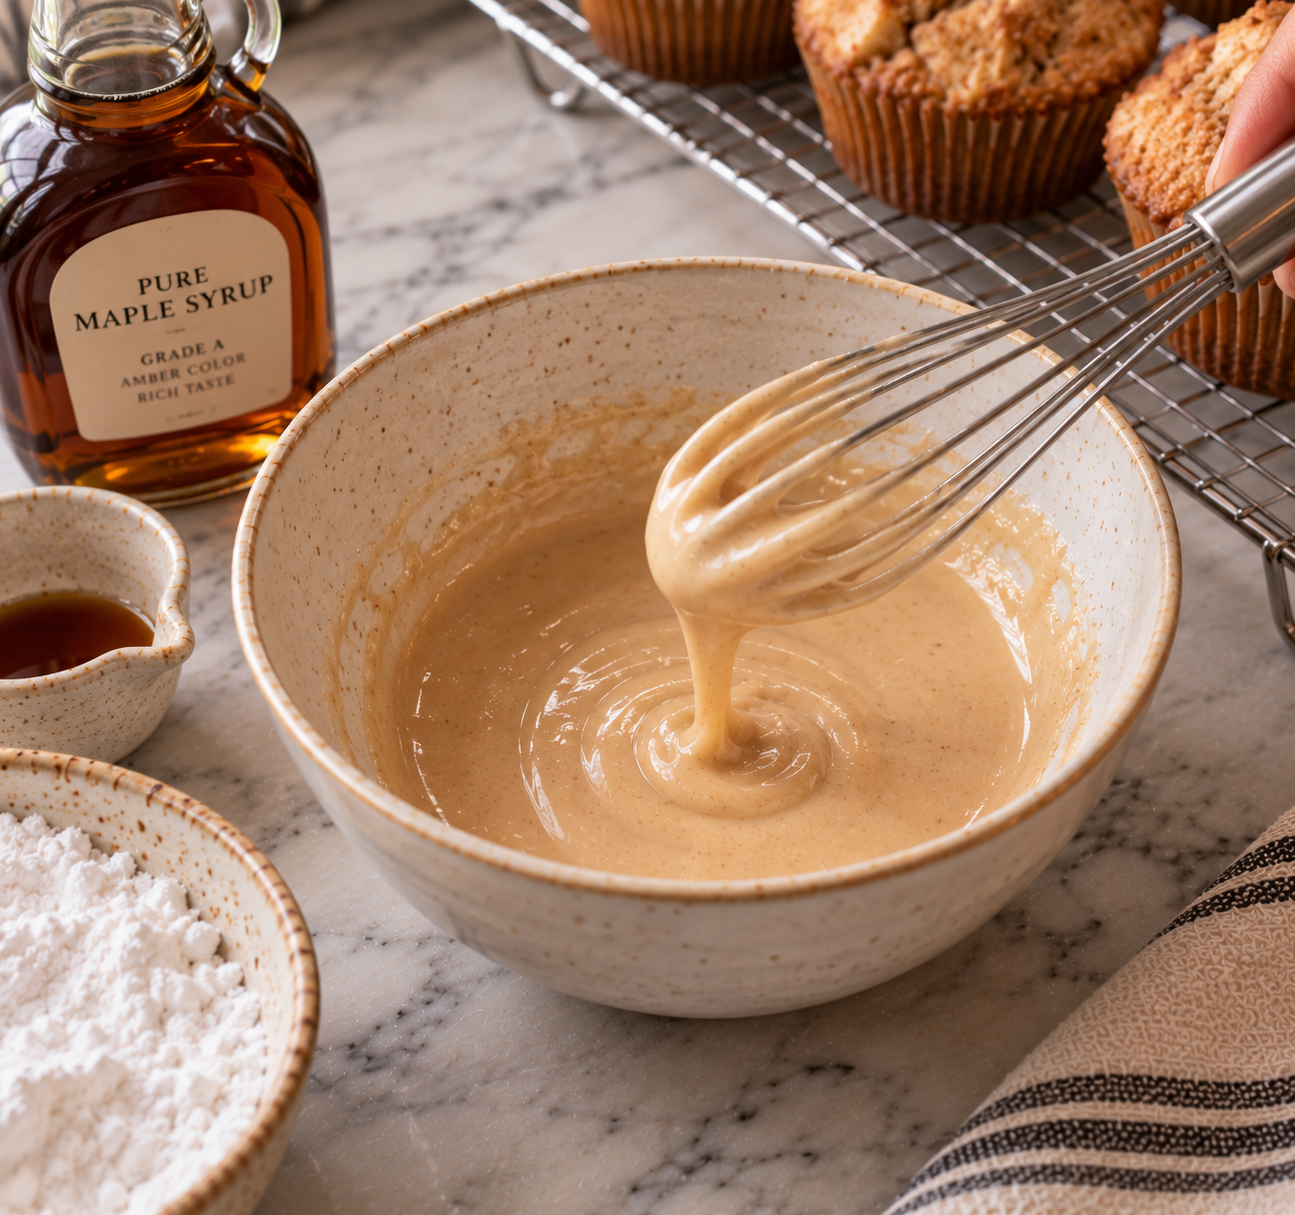
In a small bowl, whisk together the sifted powdered sugar and maple syrup. Add milk one tablespoon at a time until you reach a thin, pourable glaze — it should flow off a spoon in a slow, steady ribbon. Add a pinch of cinnamon if you’d like a warmer note. The glaze should be light, not thick; you want it to drip through the streusel rather than sit on top of it.
Step 10 — Glaze & Serve
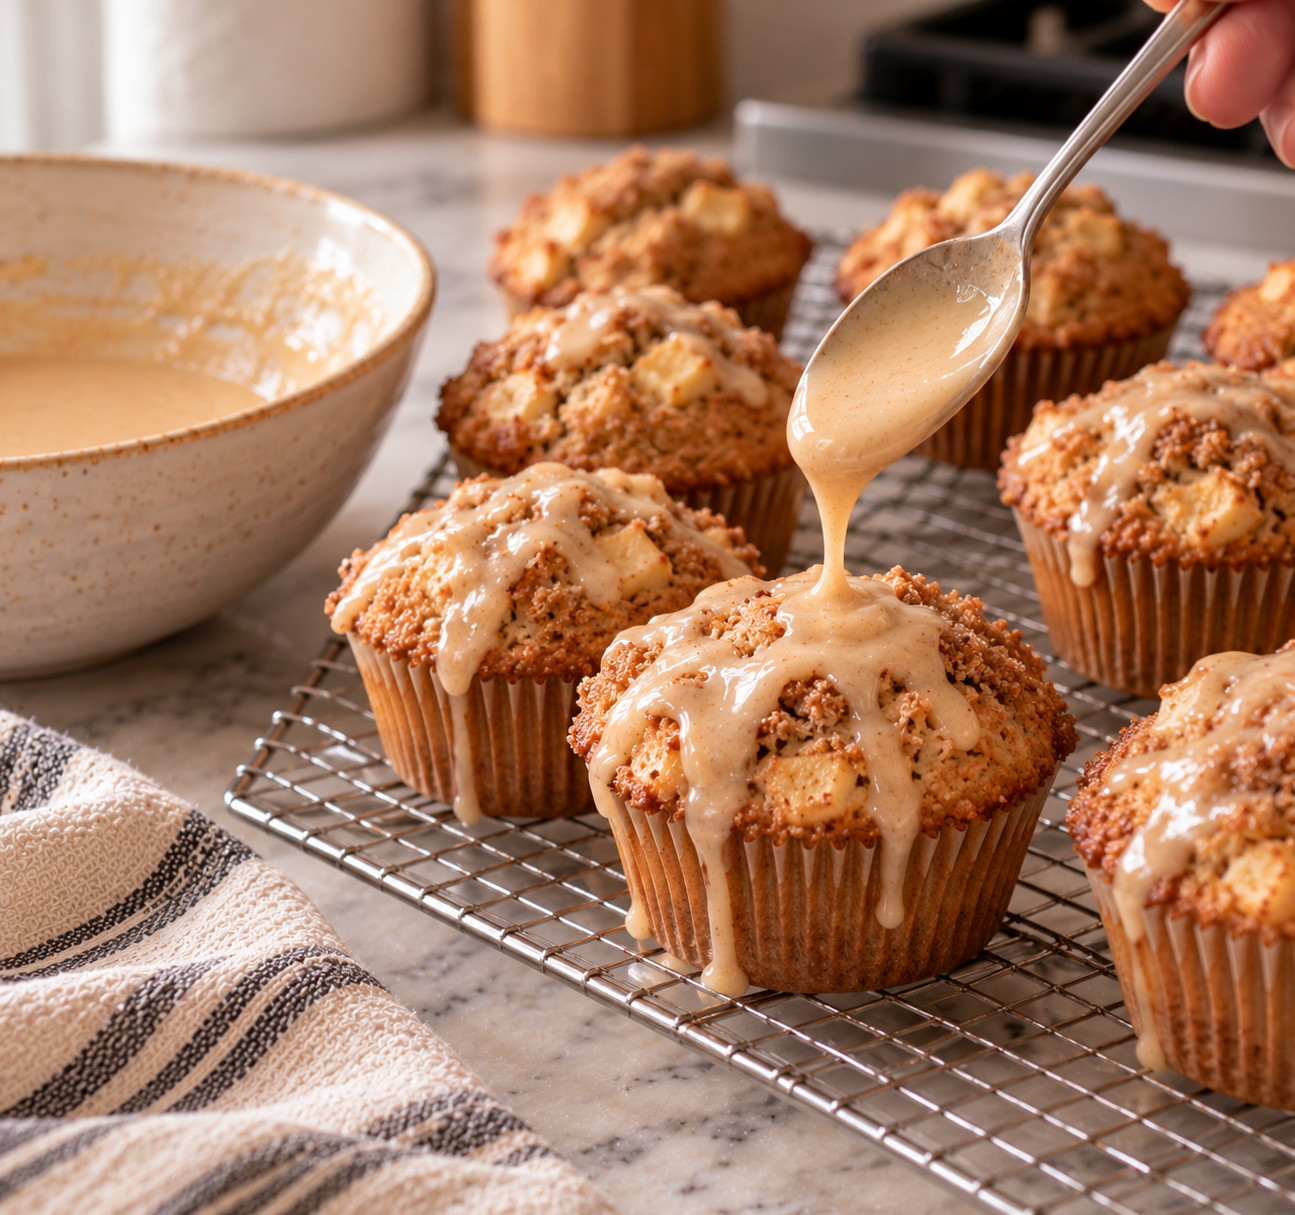
Drizzle the maple glaze over the slightly warm muffins using a spoon, letting it run naturally through the streusel topping. For a more generous glaze, spoon a second layer once the first has set for two minutes. Serve warm or at room temperature. These are exceptional alongside a proper latte.
Baker’s Notes
Keeping Muffins Moist
- Don’t over-mix. Gluten-free batters can turn gummy when overworked. Mix just until the flour disappears.
- Use sour cream. It adds fat and gentle acidity, which both tenderize the crumb and help it retain moisture over time.
- Don’t overbake. Pull them when the toothpick comes out with just a few moist crumbs. A fully dry toothpick can mean a dry muffin.
- Room temperature butter and eggs. These incorporate more evenly and contribute to a smoother, more uniform crumb.
- The reduced cider is key. It adds concentrated flavor without adding extra liquid that could make the batter too wet.
Storage & Make-Ahead
- Room temperature: Store unglazed muffins in an airtight container for up to 2 days. Glaze just before serving.
- Refrigerator: Glazed or unglazed, muffins keep well in the refrigerator for up to 4 days. Bring to room temperature or warm gently in a 300 °F (150 °C) oven for 5 minutes before serving.
- Freezer: Freeze unglazed muffins (individually wrapped) for up to 2 months. Thaw overnight in the refrigerator, then warm and glaze fresh.
- Make-ahead streusel: The streusel can be made up to 3 days ahead and kept refrigerated in a covered bowl until needed.
- Make-ahead cider reduction: Reduce the cider up to 2 days in advance and refrigerate until ready to use.
A Note on Ingredients
Gluten-free: This recipe is designed to be gluten-free, but it is only safe for those with celiac disease or serious gluten sensitivity when all ingredients — including the flour blend, baking powder, oats, and powdered sugar — are certified gluten-free. Cross-contamination can occur in facilities that also process wheat. Always read labels carefully.
Organic: Where possible, this recipe calls for organic produce and pantry staples. Organic apples, apple cider, butter, eggs, and maple syrup are widely available and make a noticeable difference in flavor. That said, the recipe works with conventional ingredients if organic is not accessible.
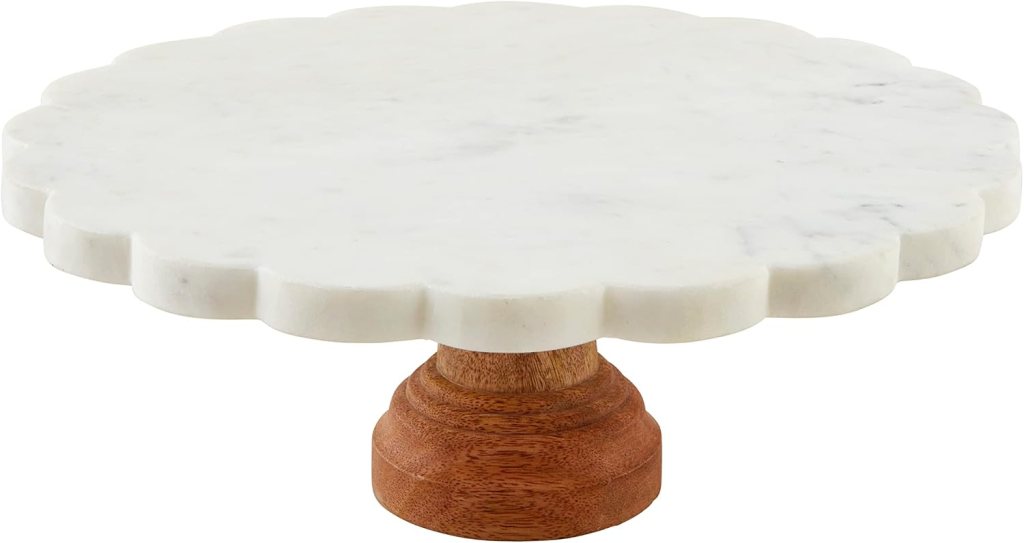
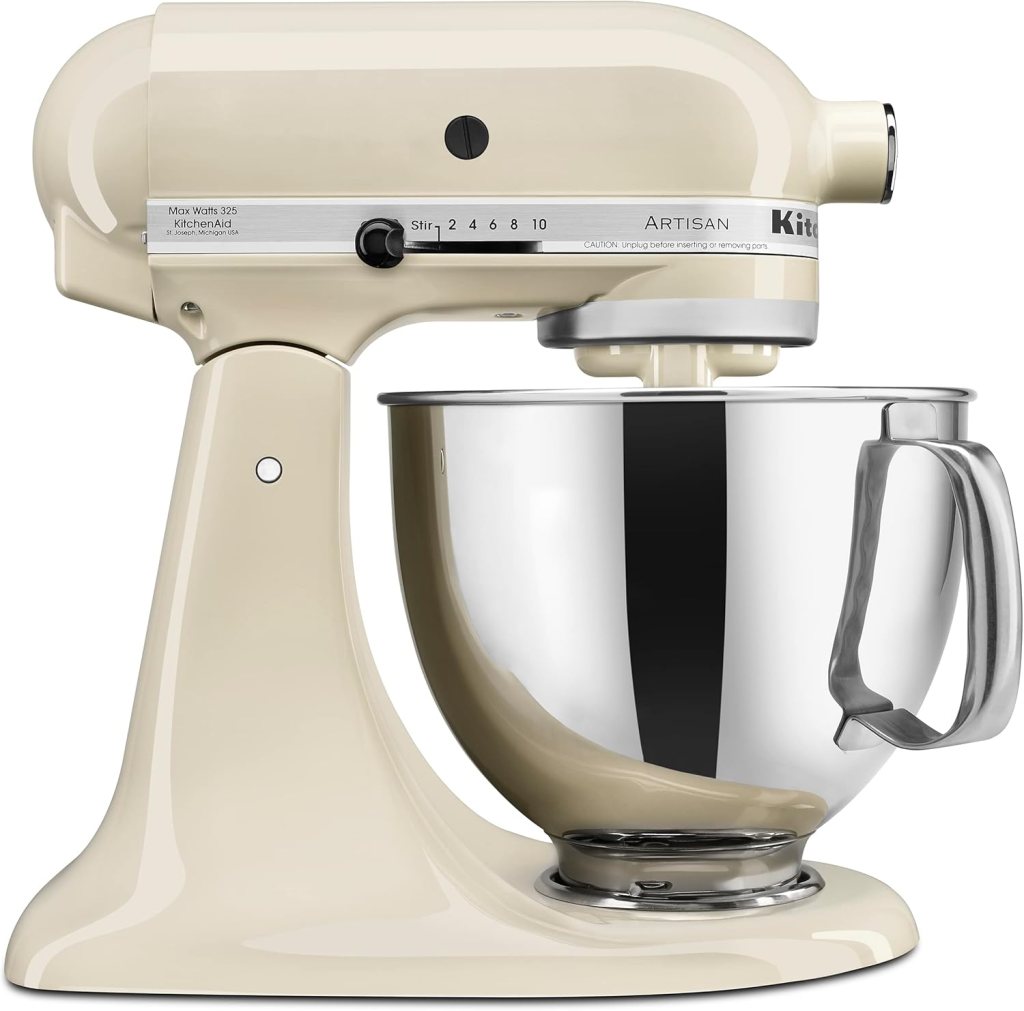
The kitchen tools we love most for making this recipe come together:
Affiliate Disclosure
This post may contain affiliate links. If you purchase something through one of these links, we may earn a small commission at no additional cost to you. We only recommend products we genuinely use and love.


Leave a comment